


somewhen i have heard that it’s not the best way to learn “how to properly expose film” by relying on hand held or camera internal light meters. instead to learn to estimate the available light by seeing and experiences. the goal is learning how to set the camera correctly and leaving the light meter at home. seems not so easy to start getting a feeling for correct settings without any experiences.
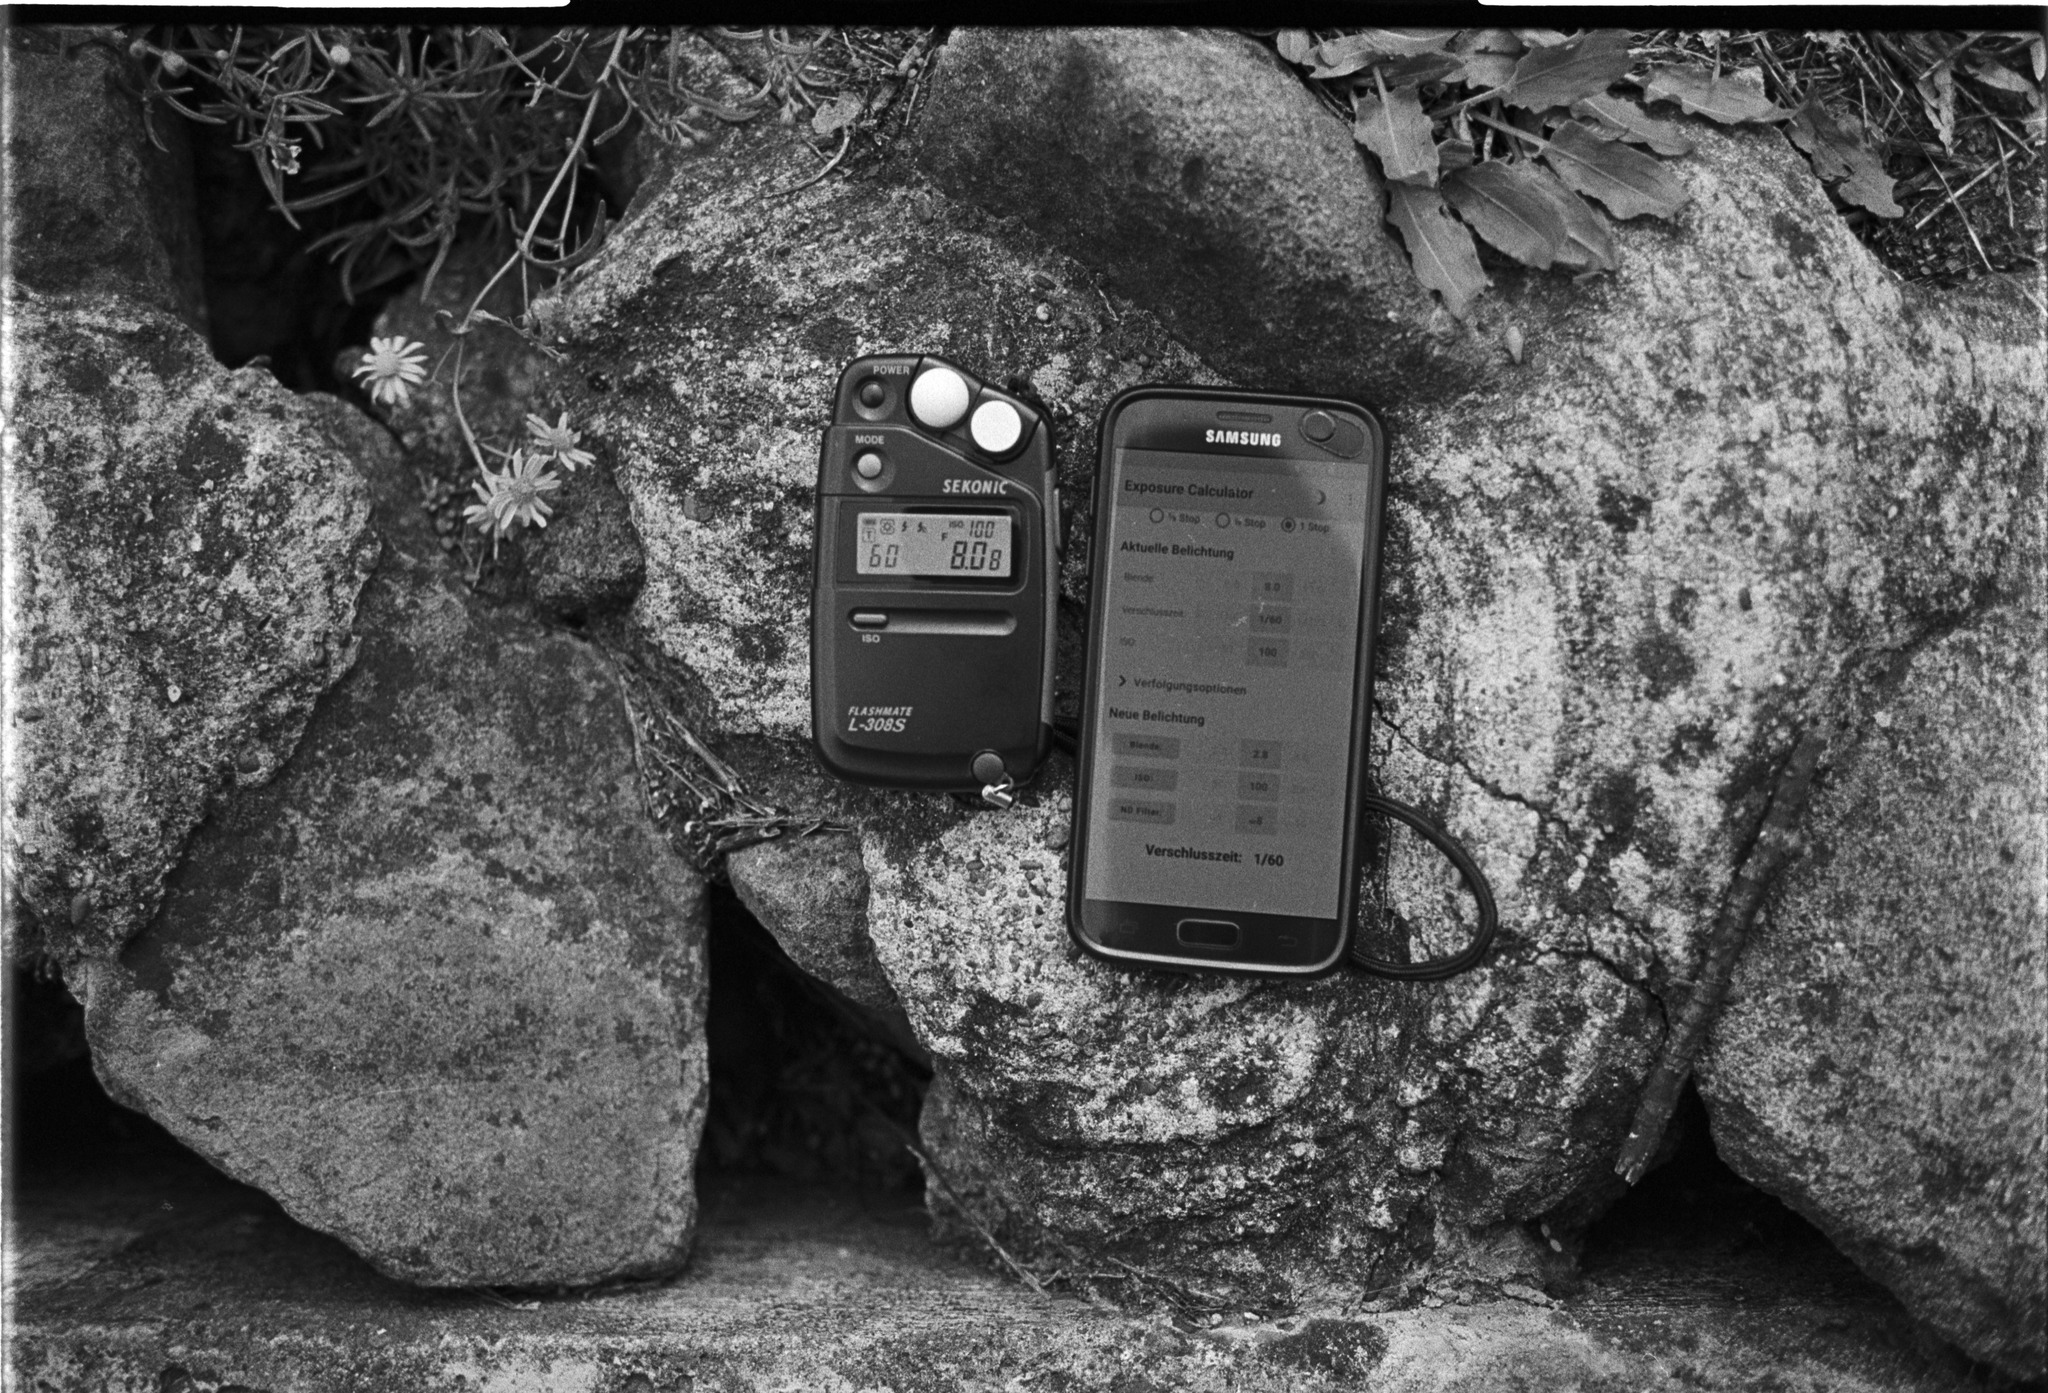
two frames were left on a roll of kodak tri-x 400 loaded to my konica hexar af so i decided to trigger my sekonic light meter and to set the camera accordingly. i wanted to see first how the film is exposed by these settings. is it underexposed? is it overexposed? or is it just right and good?
at this day i had also some neutral density filters with me. so why not testing in addition how the film is exposed by using a ND filter still relying on the exposure values first measured by the light meter. the camera settings needed to be changed for compensating the ND filter. doing this i used the android app exposure calculator by quicosoft to get the right settings.
back at home i wanted to develop that film and remembered the camera ISO settings. it was set to ISO 100 because all other shots before were taken at bright sun light and hexar af is limited in its shutter speed settings. i had chosen to force ISO to one hundred. now i needed a recipe considering that the tri-x 400 is pulled to 100. luckily the android app film developer pro by darkroom solutions knows how to do.
| camera | konica hexar af |
| film | kodak tri-x 400 |
| developer | adox adonal |
| fixer | adofix plus |
| scanner | braun phototechnik fs 120 |
the 1st shot without neutral density filter
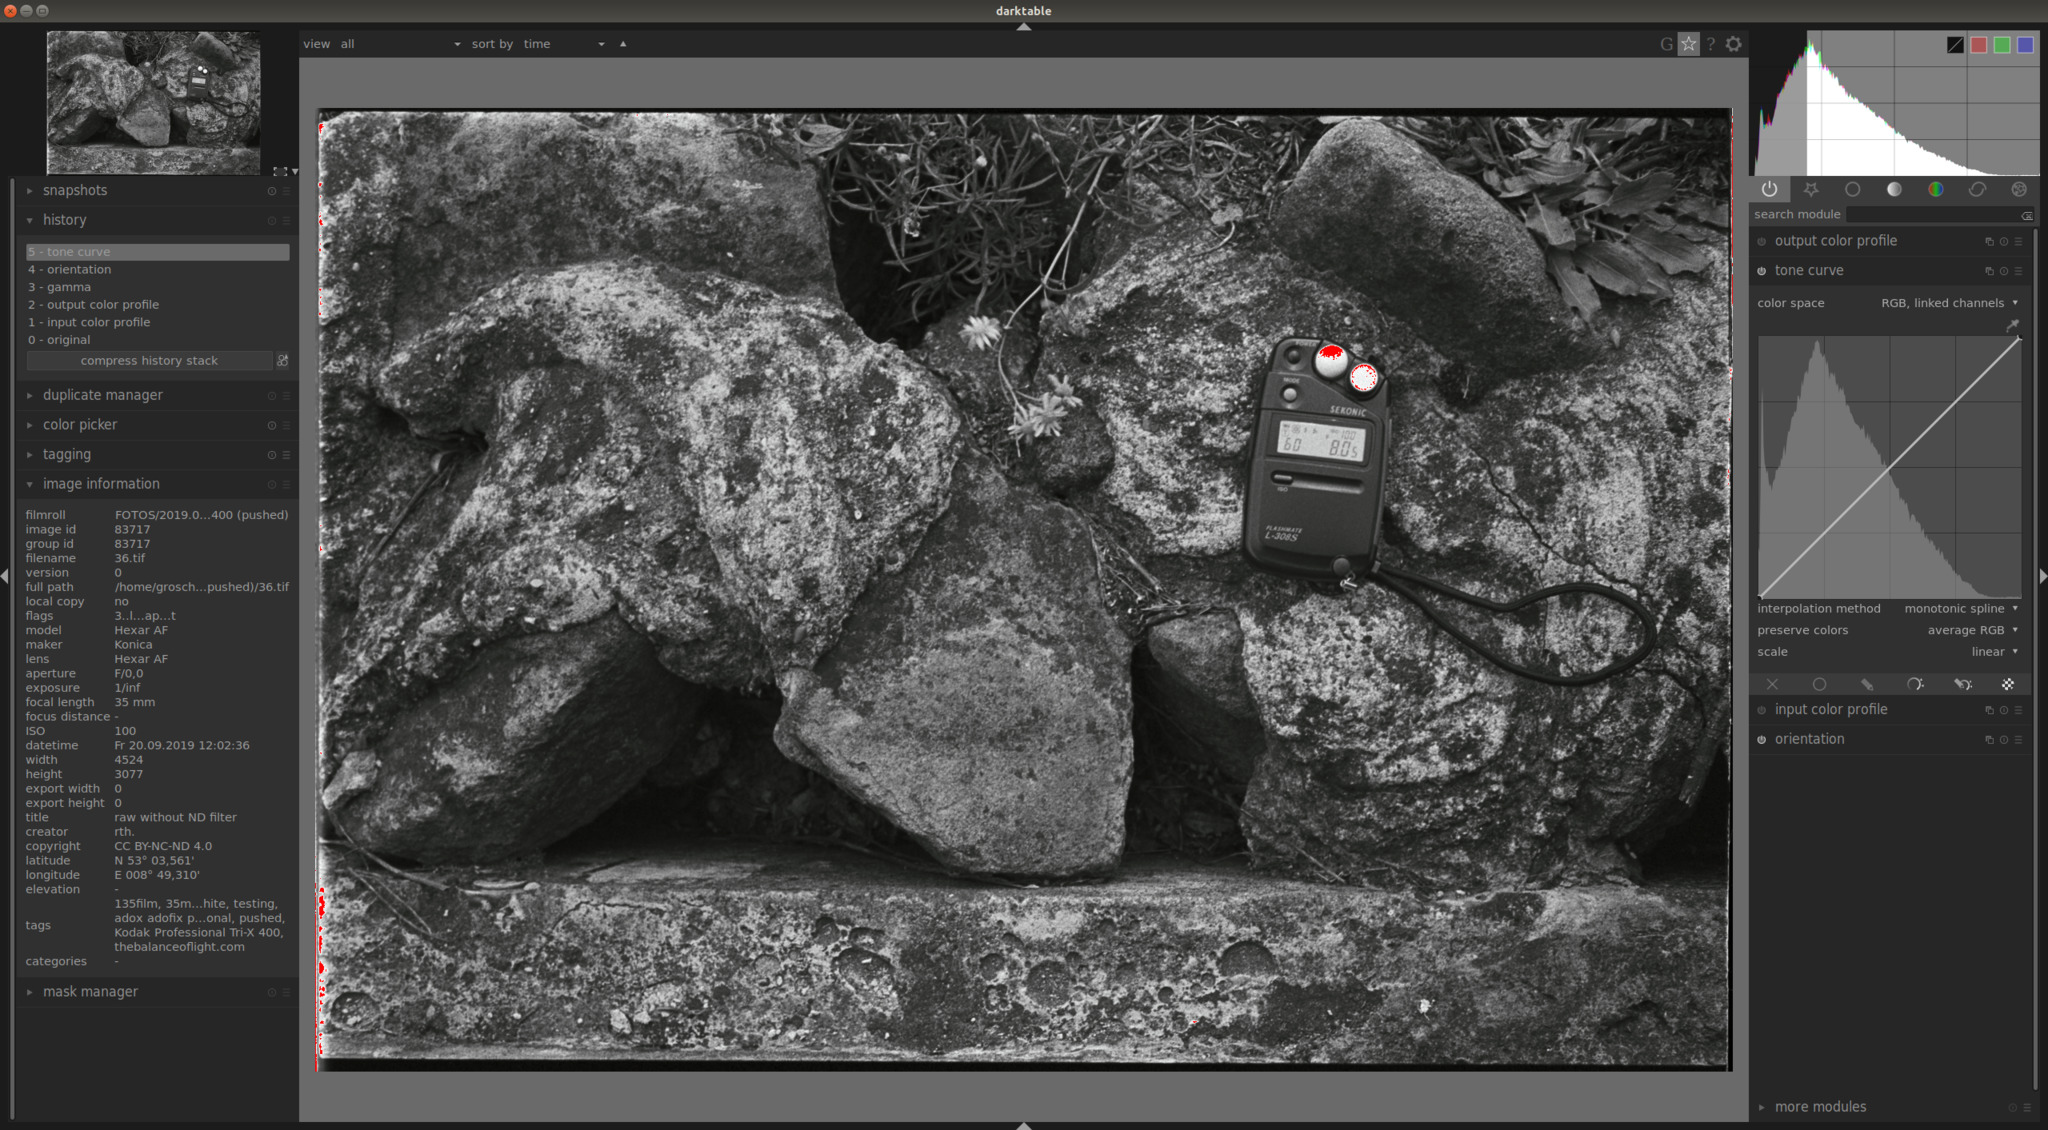
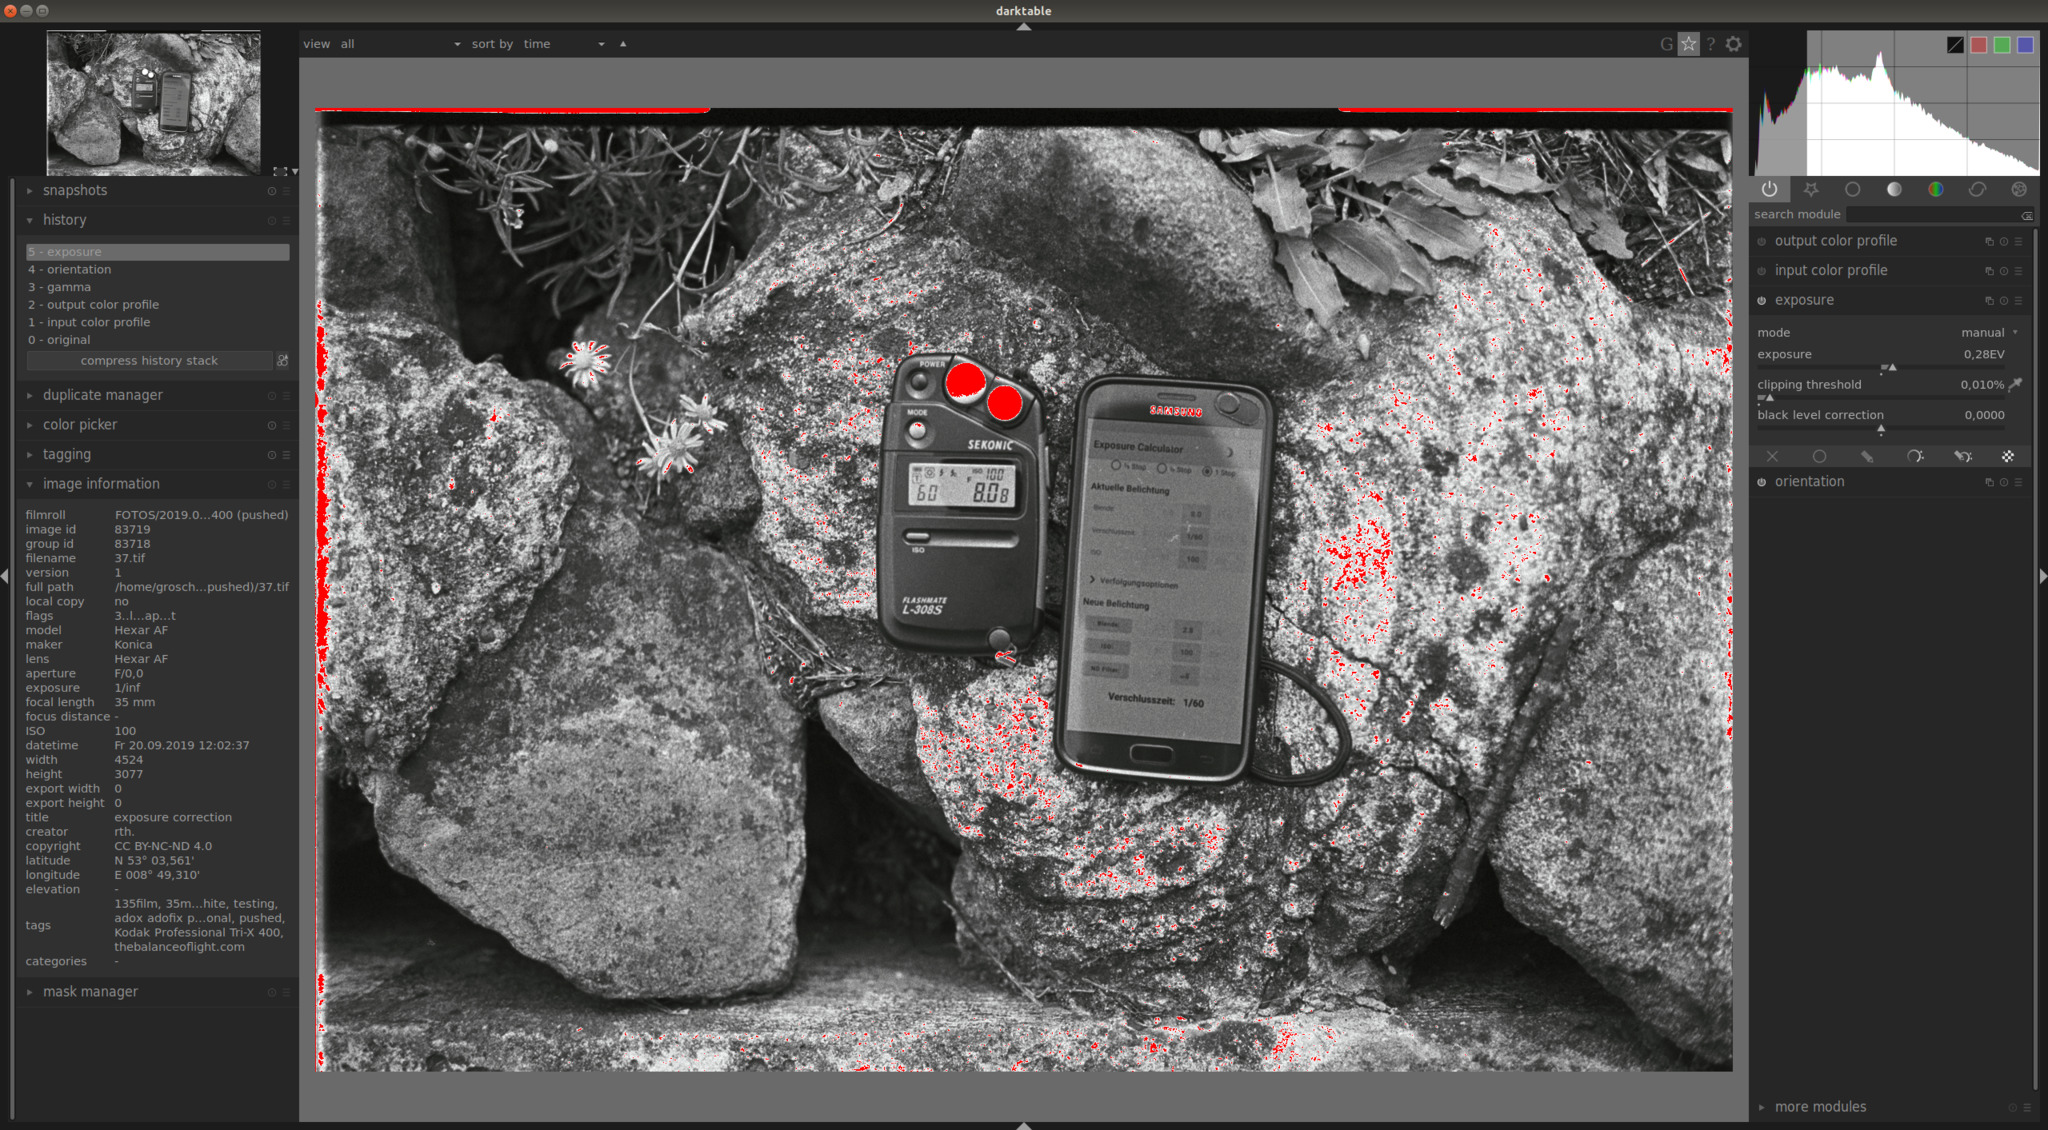
the first shot [image 1.1] was taken without any ND filter and camera settings according to the light meter. in my opinion it turned out slightly underexposed. not to loose too many words, the negative was scanned without any additional adaptions, except the type of film which was set in the scanner software by a negafix profile. due to the fact that the image turned out for me slightly underexposed. now i would state that the light meter settings were not optimal in that light situation. how far is the light meter away from the “best settings”?
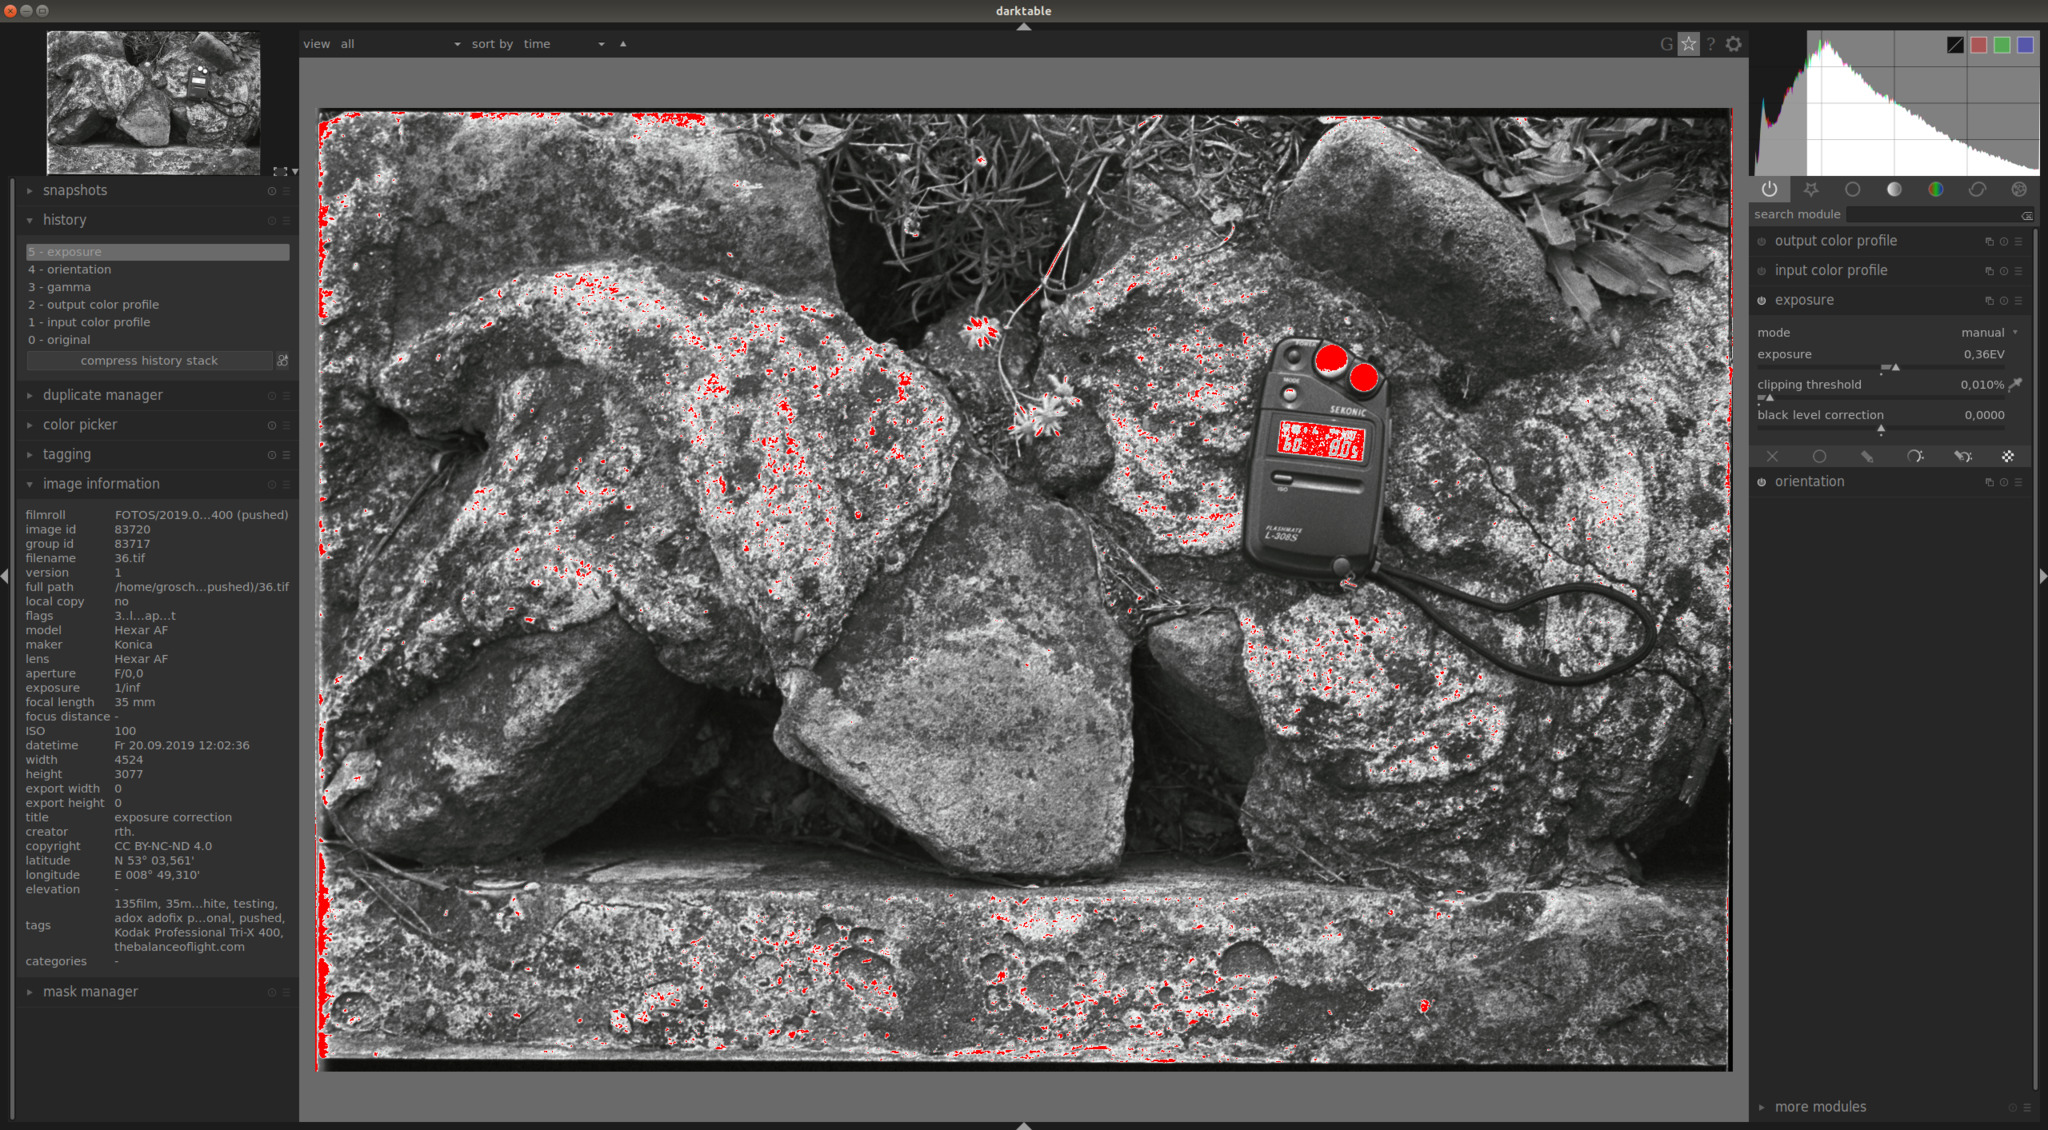
i used darktable adjusting the exposure to find out how far settings are away from the optimum. the exposure value is increased by +0,36EV until the white light meter calotte is shown as burnt-out. now the image looks to me better exposed [image 1.2].
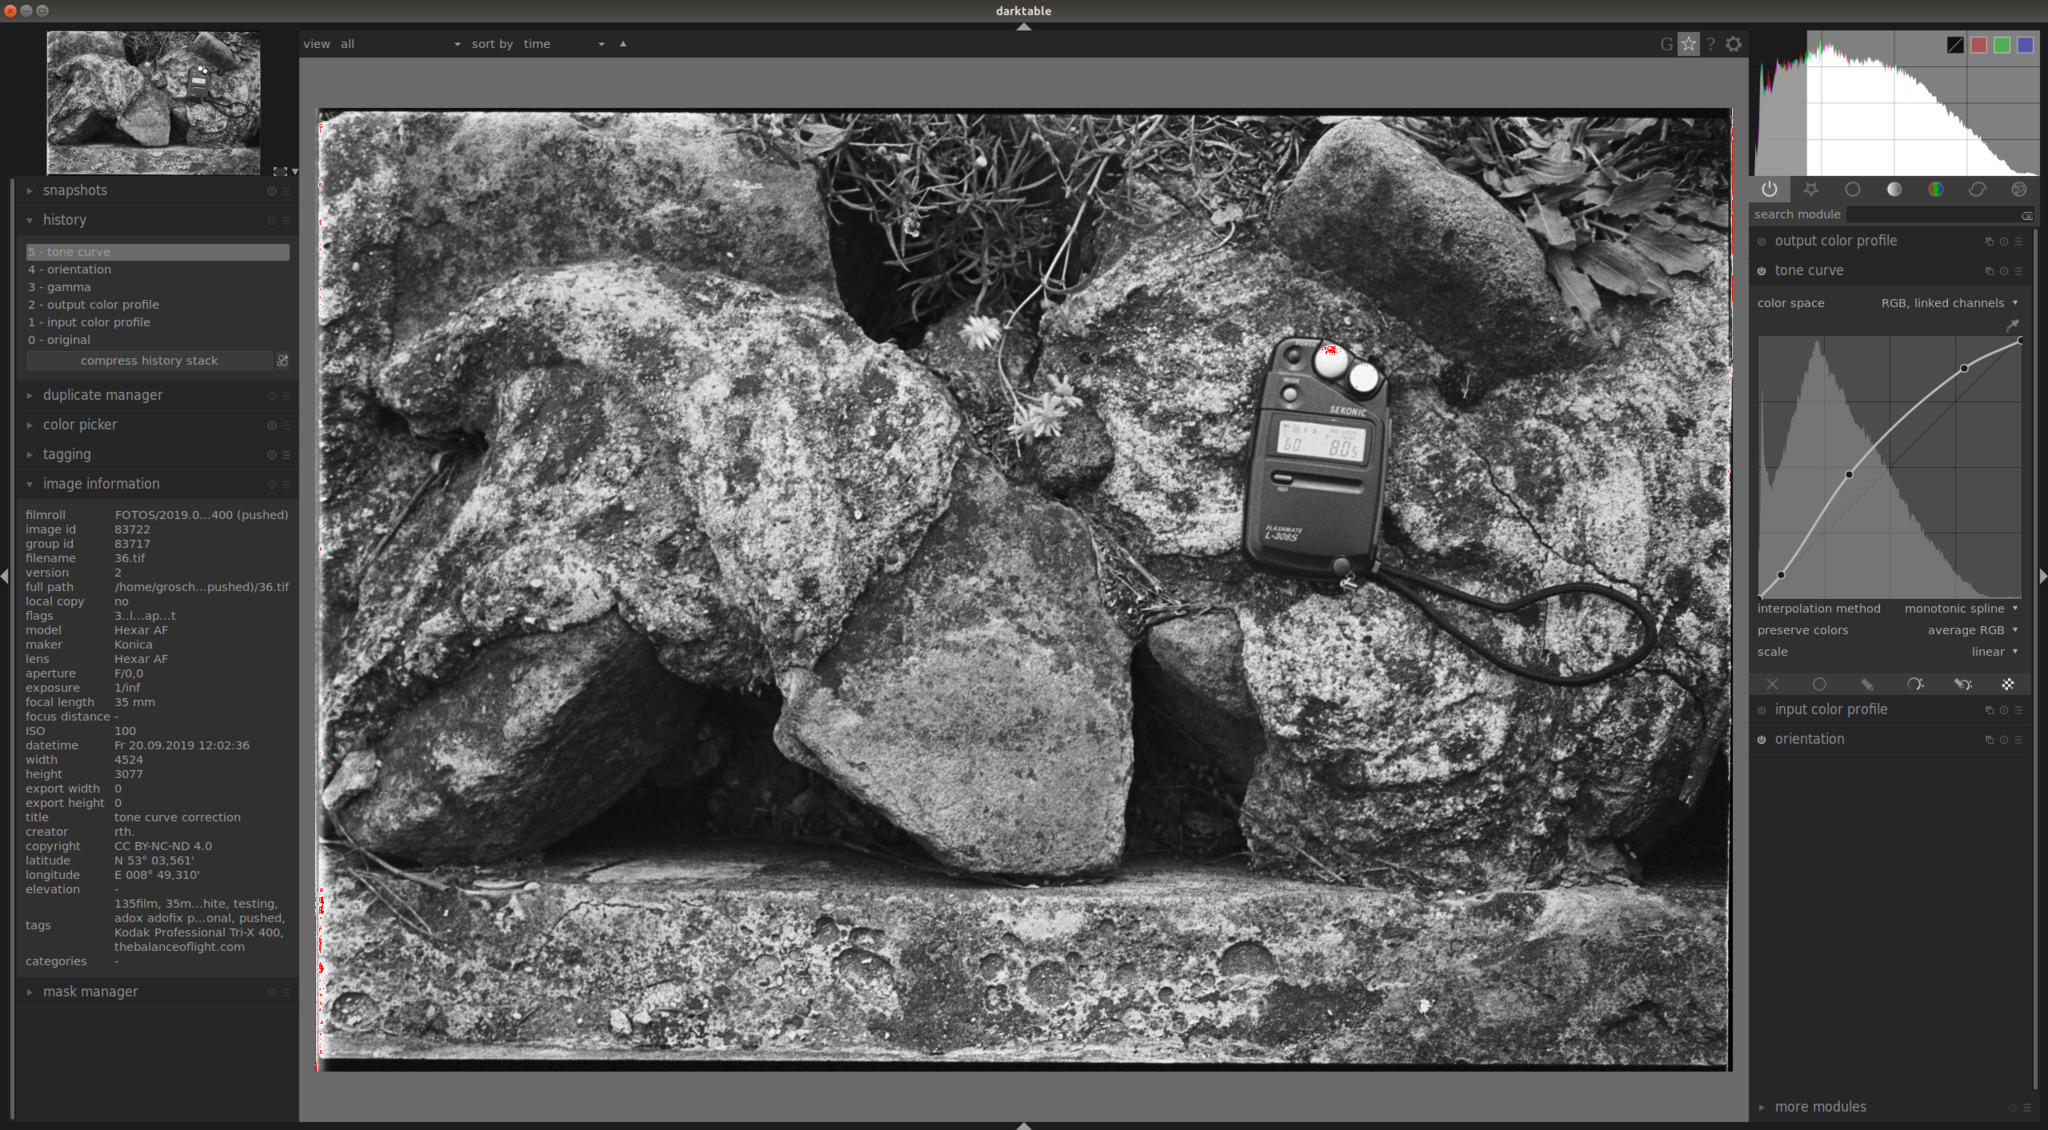
in the past i usually adjust first the tone curve to get a better result [image 1.3]. here i did this as well and was more careful to the highlights which are not burnt. but comparing both images i prefer the image with increased exposure [image 1.2]. the contrast of this image looks better to me. for sure it is possible to get the same result by adjusting the tone cure, but it seems to me more fiddly.

| ISO | pulled to 100 |
| aperture | f8 |
| shutter speed | 1/60 sec |
| filter | none |


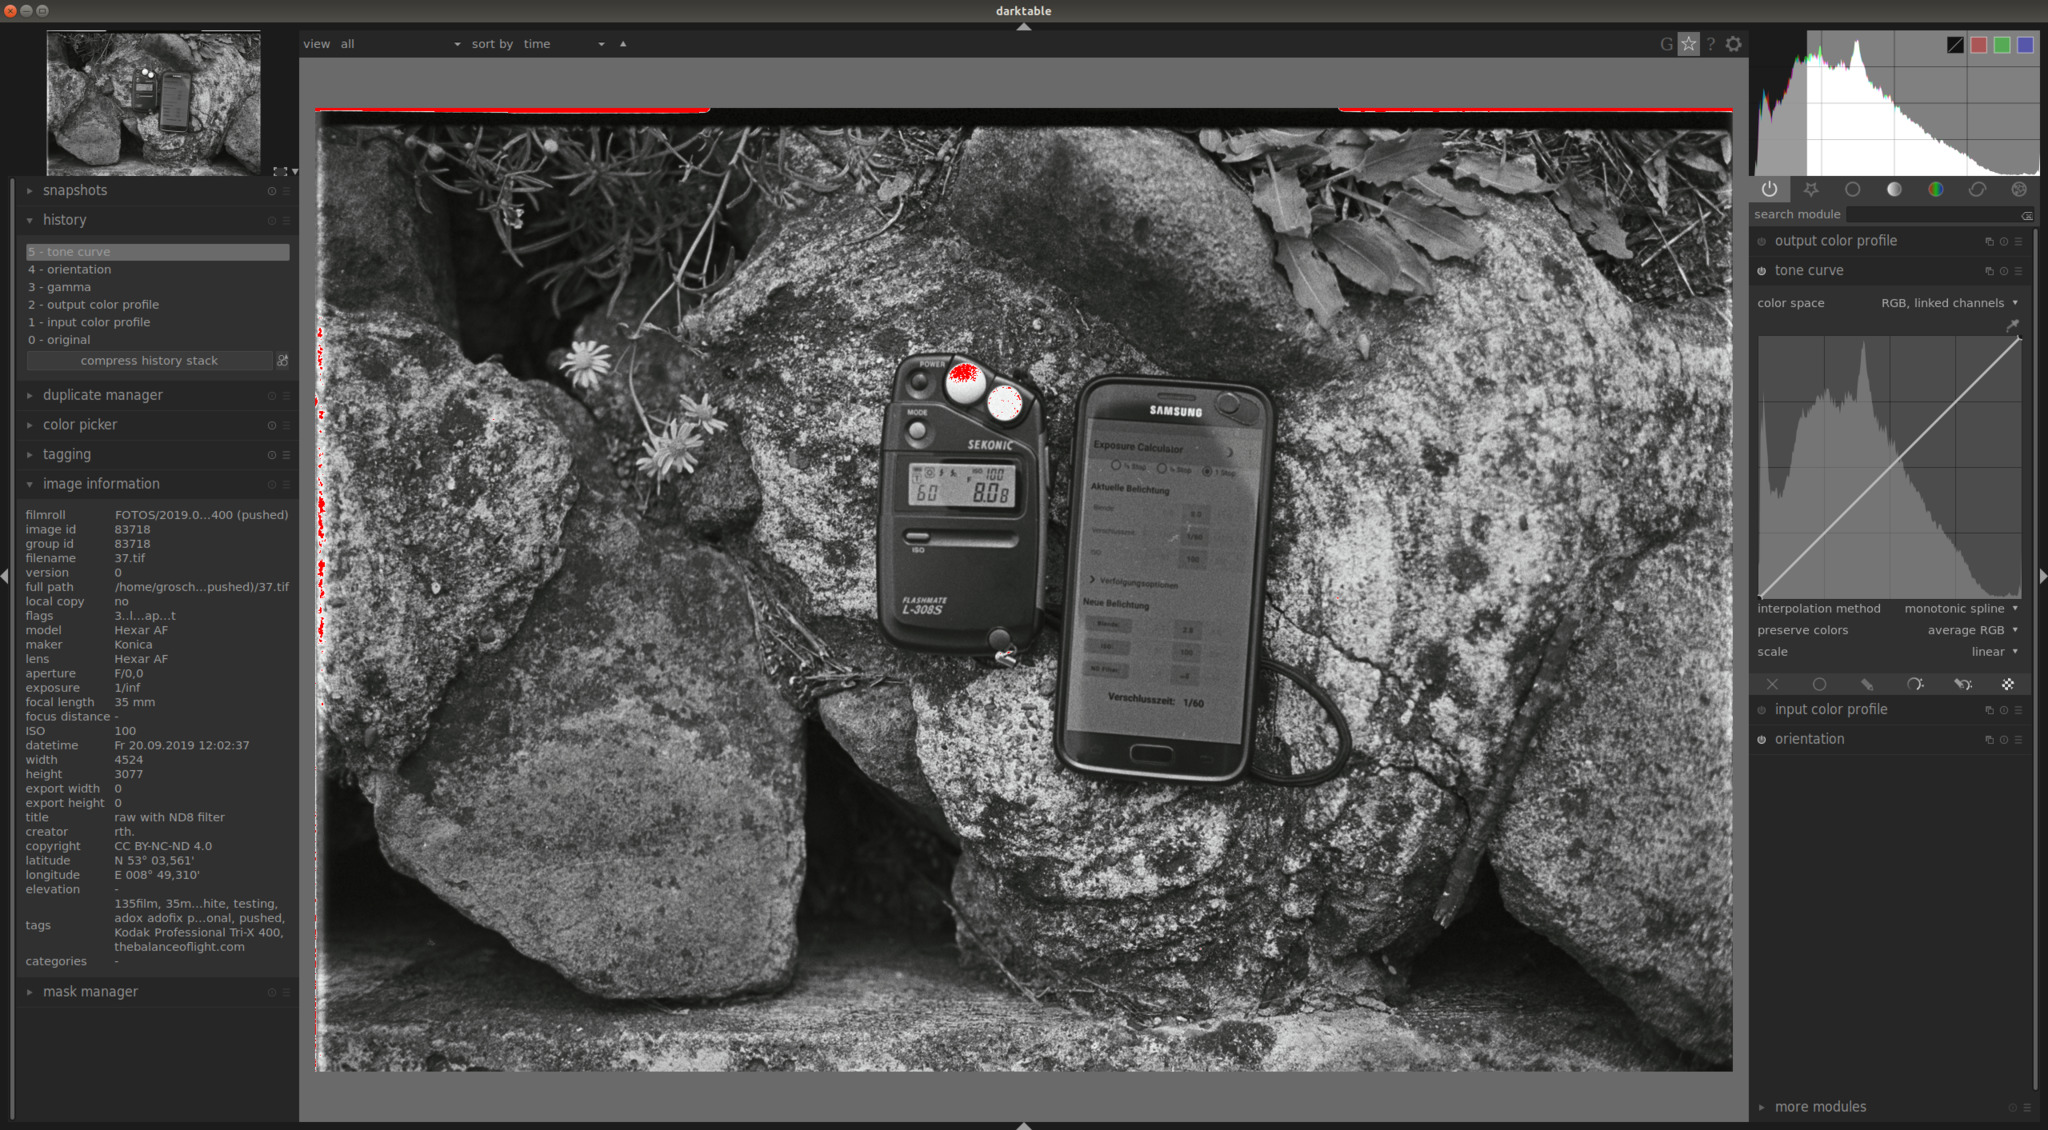
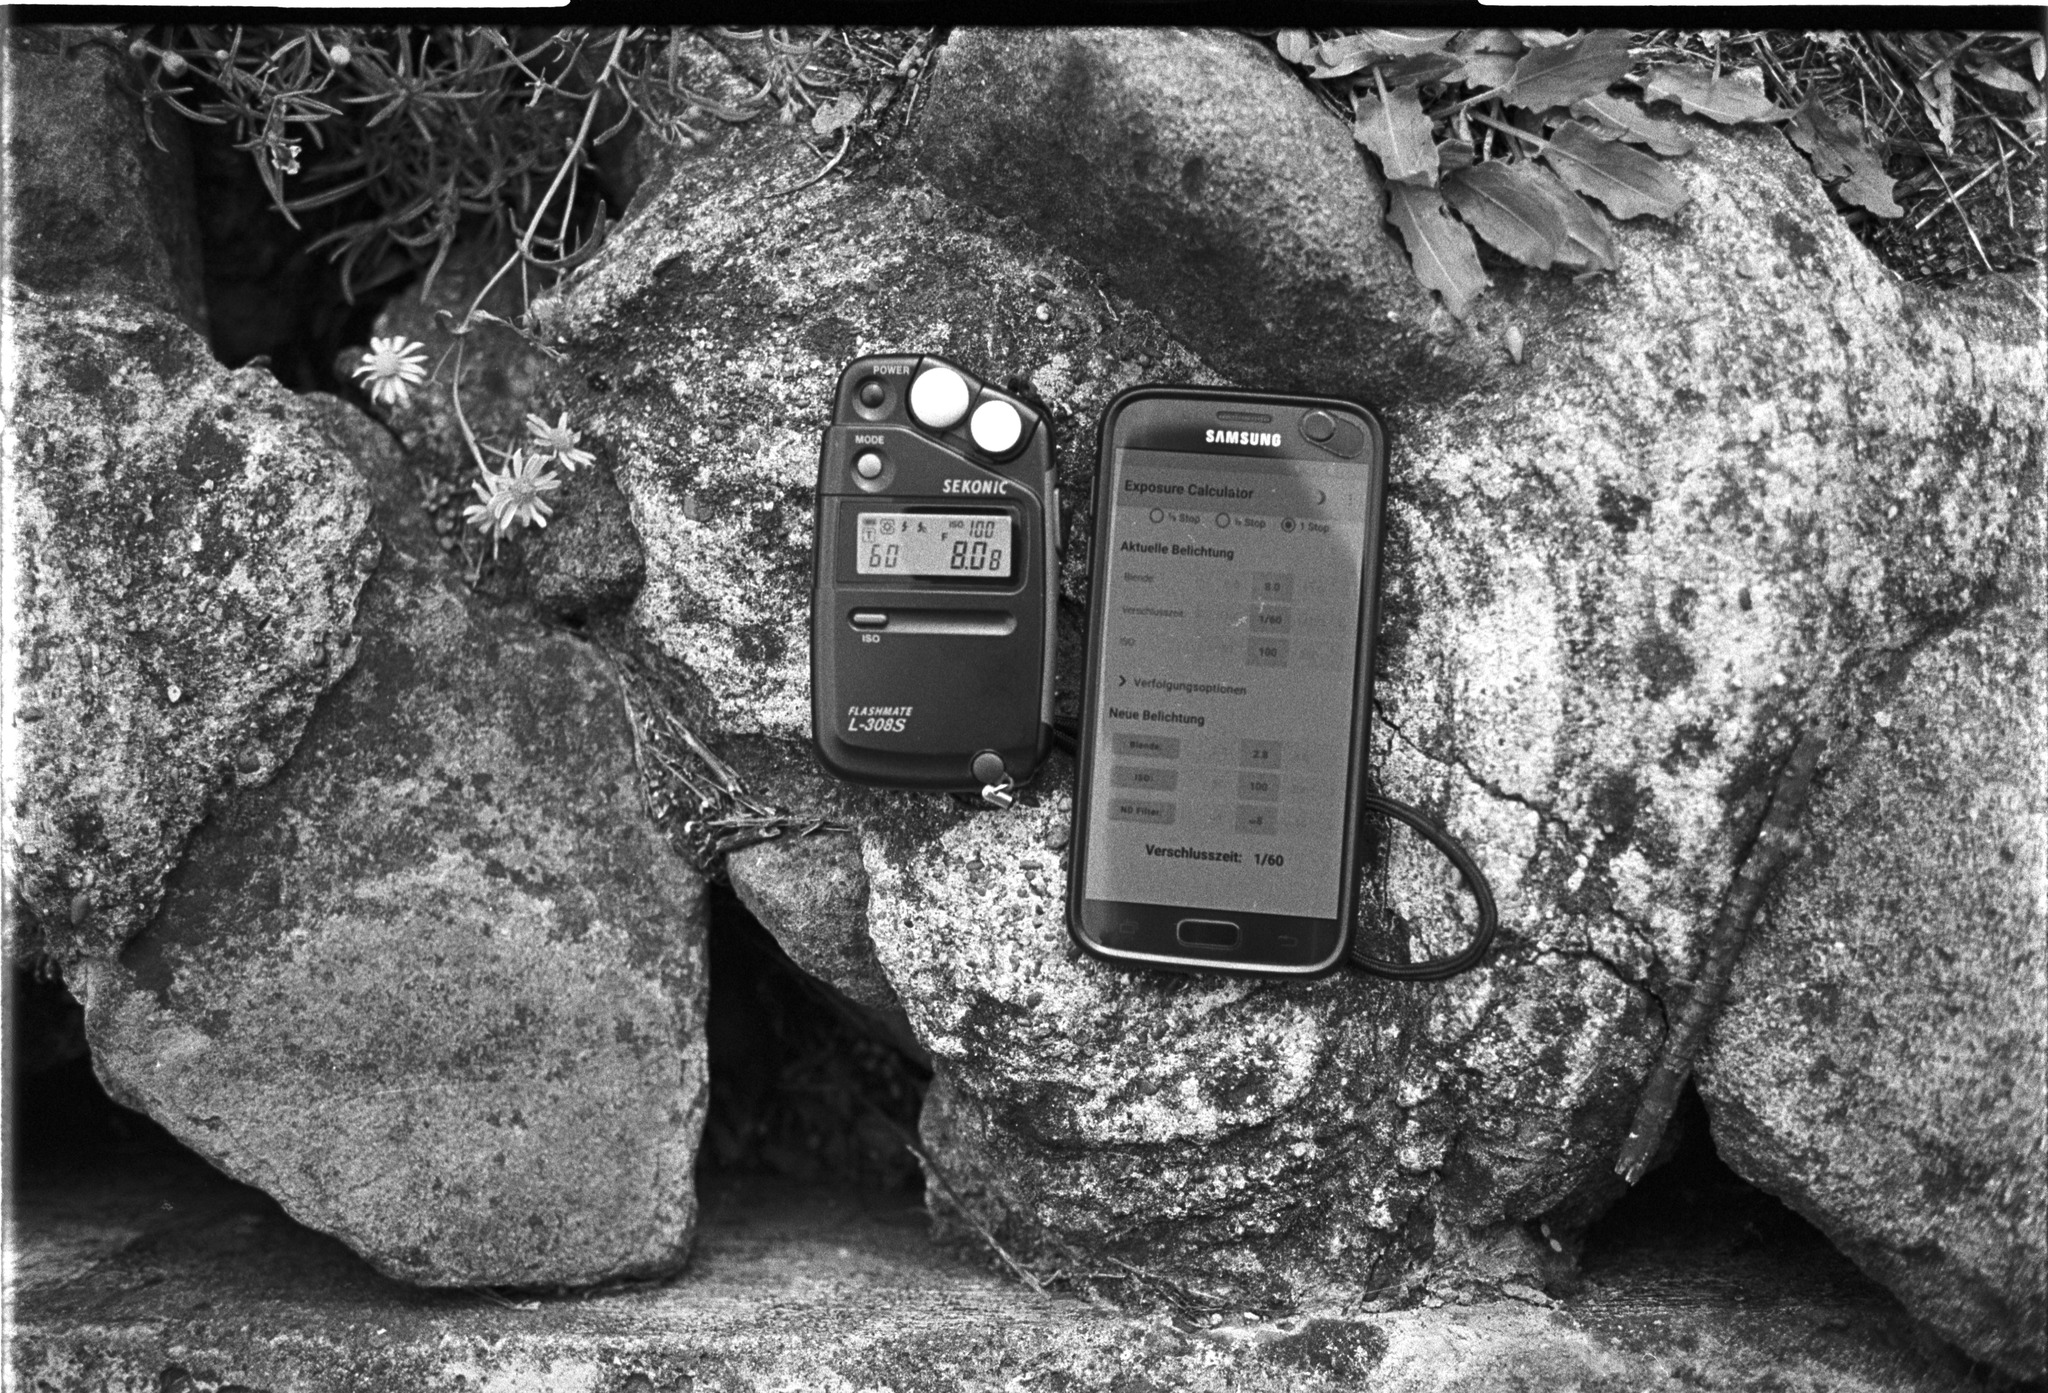
the 2nd shot with ND8 filter
as already mention that day i had neutral density filters with me. so i wanted to compare the results without and with a ND filter. would they look the same?
the settings for a shot without ND filter are already given by the light meter. i just had to choose a filter by its light reduction and took a ND8. this filter reduces the light by three steps. i also wanted to how the sharpness might be change by a different aperture value, so i decided only to change the aperture setting. the time does not had to be changed. the first shot was taking with an aperture of f8 which needed to be reduced by three full f-stops. that means from f8 > f5.6 > f4 to f2.8. just to be sure about the settings i used the app exposure calculator for verification. 8)
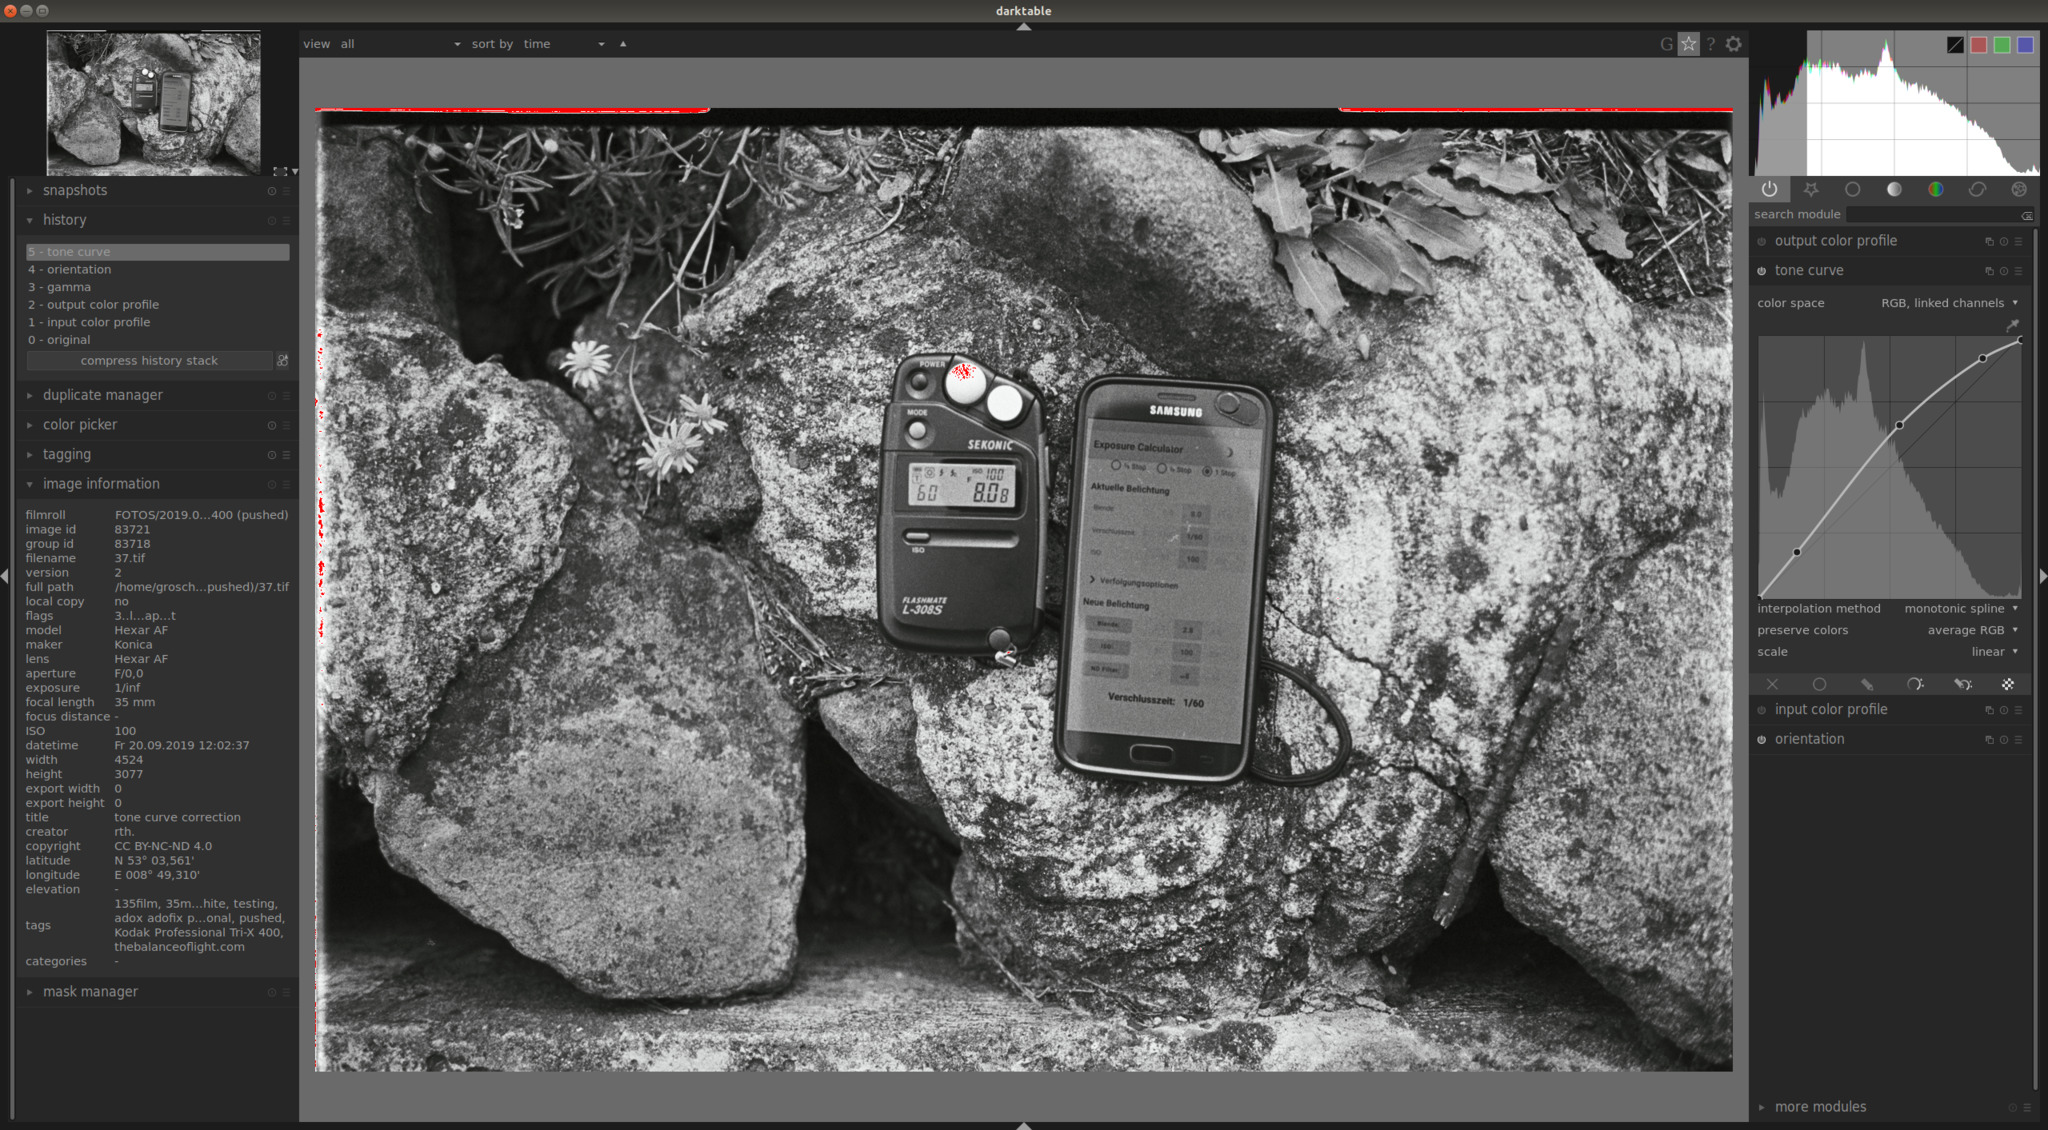
comparing the images 1.1 and 2.1 against each other i would say that both are exposed very the same. i can not say whether the sharpness is different but you can see how nice structures are blurred in the shadows of the stones. same as for the first shot the second image seems to be slightly underexposed. correcting this with darktable results in increasing the exposure by 0.28EV [image 2.2] – nearly the same as for the first shot. same for the contrast which looks nicer by increasing the exposure than adjusting the tone curve[image 2.3]. but as already stated a higher contrast can also be achieved by the tone curve tool.
| ISO | pulled to 100 |
| aperture | f2.8 |
| shutter speed | 1/60 sec |
| filter | ND8 (-3) |

conclusion
the scanned negatives turned out slightly underexposed by about 0,3EV. did the light meter has shown wrong settings? is it maybe not accurate calibrated? i don’t think so. the accuracy of the light meter can be configured. that time it was set to show only full f-stops. i guess if it has been set either to ½ f-stops or ⅓ f-stops the meter would have shown different settings – more accurate. but would it help to show exposure steps with smaller f-stops? guess not, because the older analogue cameras i know are not able to be set to ½ or ⅓ f-stops. in addition, holding the light meter in slightly different direction the measured values can be easily vary a little. at the end i would say that a correct/best/optimized exposure can only be achieved in post processing. guess this must be probably true for digital and analogue photography.