a printer broke and needed to be replaced. so it’s time to do a bit of color profiling for the new one.
… and bit of color comparison! 🙂
i’ve used turboprint for linux quite a while. it is able to use custom color profiles for prints. many printers are supported by turboprint. most of these printer drivers already support different types of papers and contain their print profiles. the amount of profiles and paper types varies by the printers. however, my new printer is an Epson EcoTank ET4700. why this one? first i think Epson is well supported by turboprint and second the printer has a scanner unit. vuescan is by the way a good choice as well. i needed a multifunctional printer. and … price-performance blah-blah-blah!
so let’s see, the printer is supported by turboprint since version 2.49 and includes already many paper profiles: plain paper, epson inkjet paper, archival matte, epson matte heavy, epson photo glossy, epson premium glossy, epson premium satin, epson ultra glossy, transparency, hahnemuehle smooth fineart, ilford omnijet.
let’s print some samples
what makes sense to print? since it is an Epson printer and the driver includes already a profile for the epson premium glossy photo paper, … so i think it make sense to compare prints on this paper. i like to see how color and black & white images looks like – printed with different profiles!
so what do we have …
- a mobile – using the epson printer app
- tuboprint – using the included epson paper profile
- tuboprint – measuring an extra calibrated paper printer profile
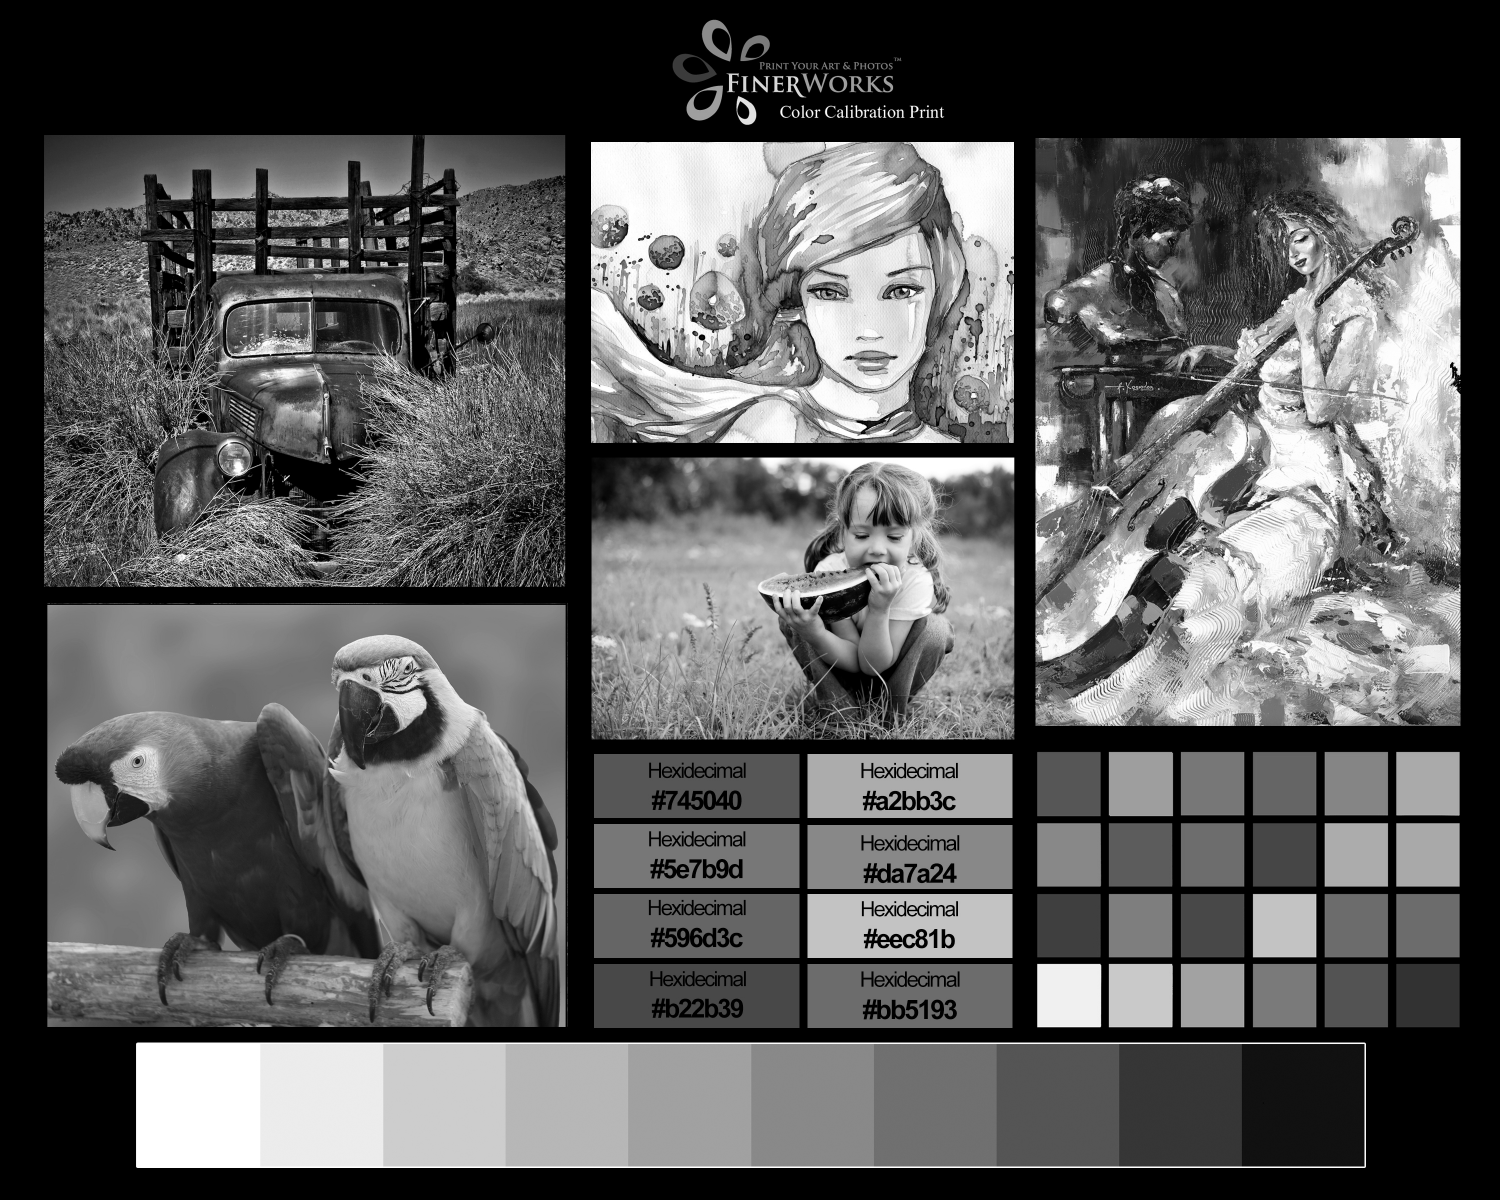
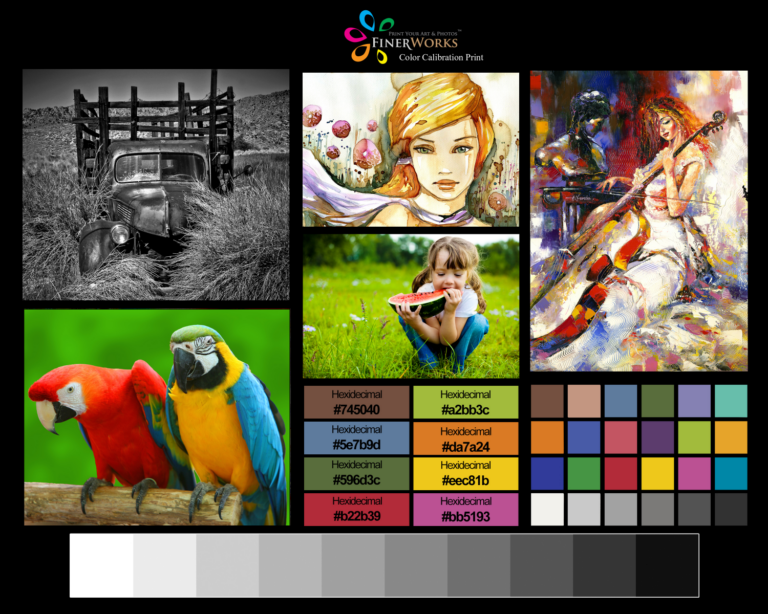
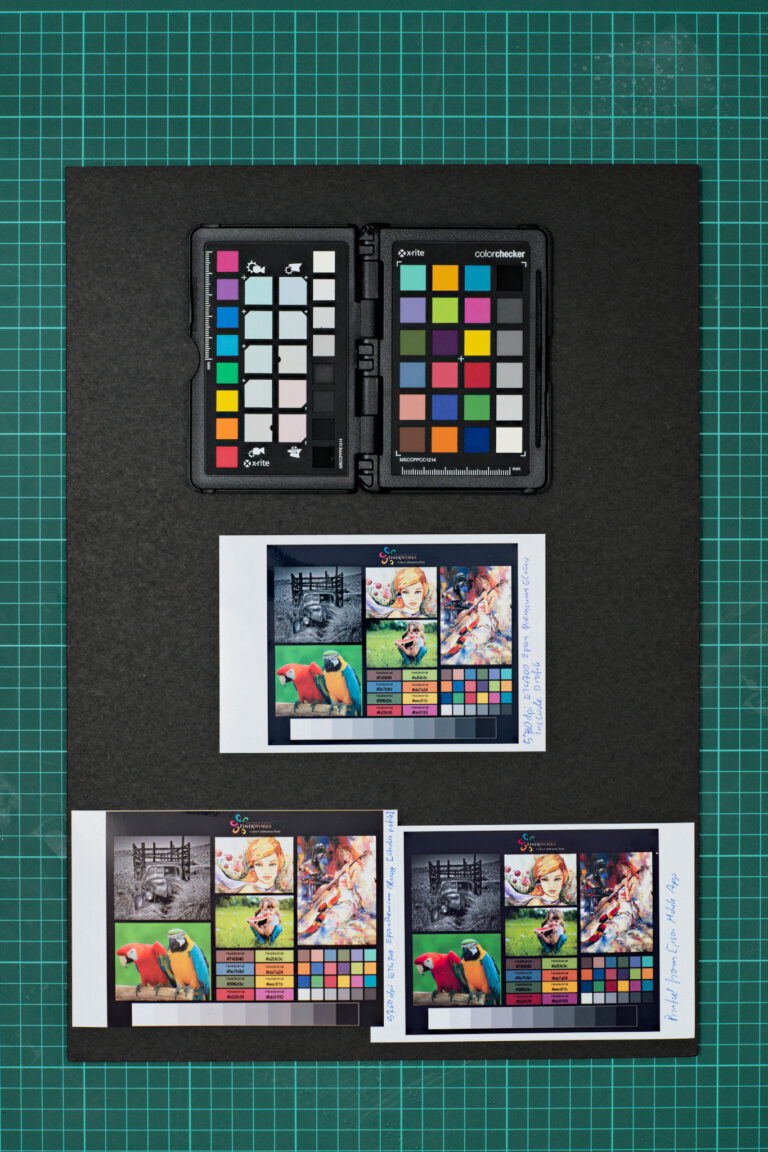
as source file i’ve found a color calibration sample image at FinerWorks. it already contains different types of images: a black and white one, colorful saturated images, a graphical image and certain color patches as well. think this sample should be great for comparison. at the end the prints of course needed to be digitized to compare them here. i made a photo and used the ColorChecker chart and darktable to make sure to show the prints on paper with the correct colors here. for taking the photo i have used a flash to light up the images. it introduced an uneven illumination and due to, the paper type is glossy it reflected light a bit differently depending on the place. but with the reflections the paper texture might be become visible, too.
let’s compare the results …
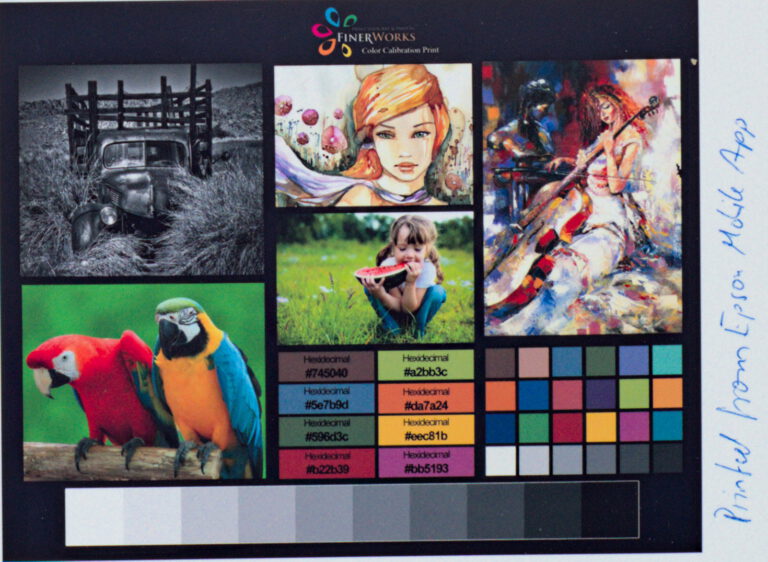
print from mobile
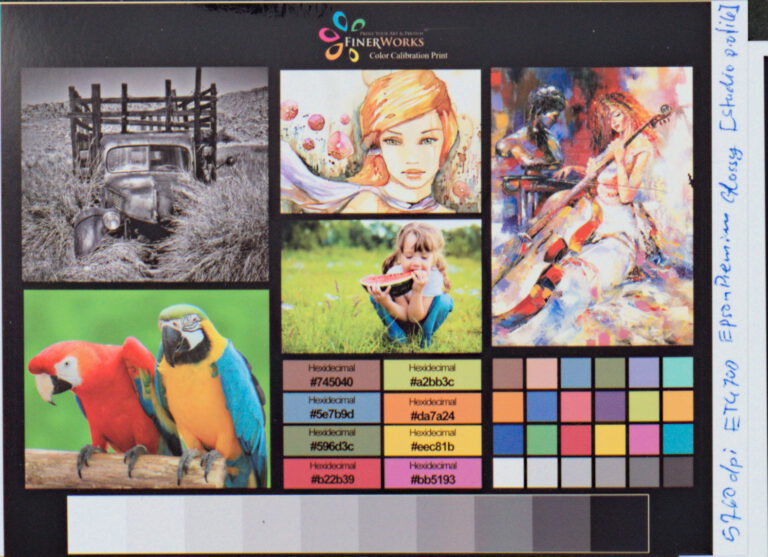
even the epson printer app knows about the paper types and the correct paper can be selected in the settings. the print itself turned out darker in comparison to the other ones. i my opinion it is already far to dark. the app provides an auto correction mode, it might be related to this. anyhow – in addition to this, the image is a bit to blueish as well. especially i do not like how the black & white part turned out. it’s the same for the green parts of this sample.
print with the included color profile
the print with turboprint on linux using the included paper profile seems to have the same blueish cast as the print from mobile. it has to be said, it is not as dark as the other one but in general i do not like the color cast here, too. might it be that both are the some profiles provided by epson? i need check some when, how it looks like if it would be printed on windows and its print drivers.
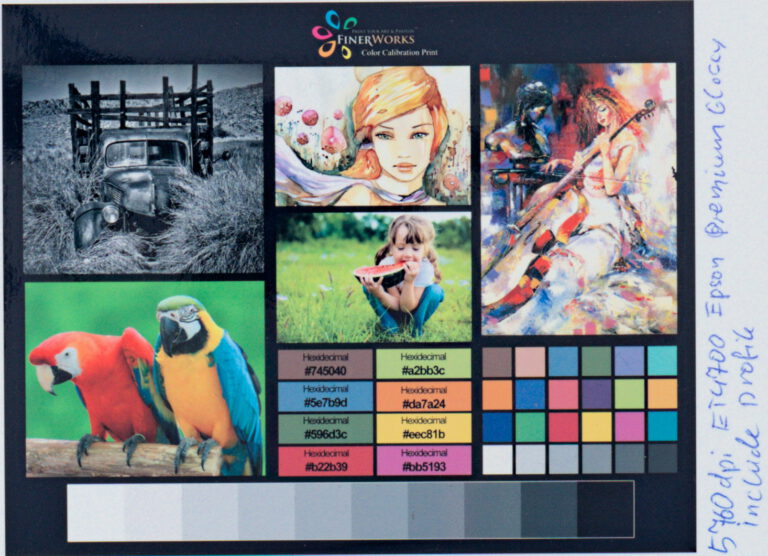
print with individual calibrated color profile
the company ZEDOnet GmbH behind turboprint offers a color profiling service for printers to measure individual color profiles for every available paper. i have used this service already for my old printer and here i’m happy as well. the image is now printed more correctly. the bluish cast disappeared and the brightness over all areas of the image is handled much better. i think the contrast of the print got a bit lost due to its lit by the flash in a not that optimal direction.
conclusion
with this experiment, i think from now on i want to print only images with a individual measured paper profile. if you would never have seen the difference between “unmeasured/included” profiles and the measured one, you might be ok with the printed – if you just look for color prints. but i think here we already can see that the black & white part of the sample really is improved a lot.
